Settings -> Users
Objectives
- Adding, modifying or removing users
- Aligning users with company structure
Users
- Creating new users
- Setting permissions
- Setting time zone
- Setting team (optional – if not default)
- Assigning users to Company
- Assigning users to company, region, district or locations
Creating New Users
- Navigate to Settings -> Users
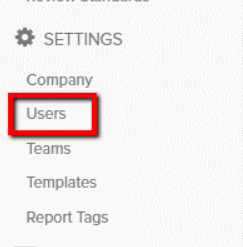
- To add a new user, click ‘Add a Person’

- Fill out new user details, including time zone and team (optional). Typically, all new users will default to the default team.
- First/last name, email address and time zone are required.
- Setting a password is optional; the welcome email sent to the newly added user prompts password creation.
User Permissions Breakdown:
- Restricted User: Limits access to activity feed and performing assigned reviews/checklists.
- Application Administrator: Can view and manage any information under settings.
- Location Administrator: Can view and manage restricted users for managed locations.
- Perform Key Reviews/Create Actionable Messages: Key review results are shared with managers of the location; Auxiliary reviews are not. Also allows sending Messages in Action Center that include Action Items.
- Finalize Action Items: Ability to approve, reject or dismiss actions taken on a Review or Message.
- Update or Delete Reviews and Schedules: Applicable to non-reviewers. Reviewers can update or delete a review until it is submitted.
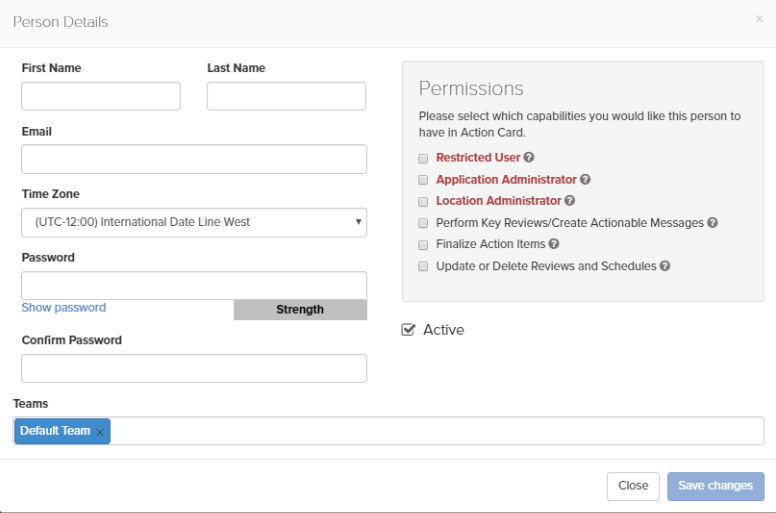
- Click Save Changes when finished.
Assigning Users to Company
After adding a new user, assign that user to the company structure to grant location/data access. User assignment also functions as the distribution group for completed review emails.
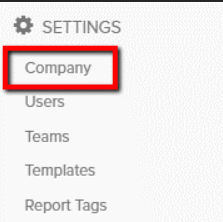
- Navigate to Settings -> Company
Users can be assigned at any of the 4 different company levels:
- Corporate/Company: Access to all locations and all data; receives all completed email reports (barring customized notification preferences).
- Region: Access to locations, data, and receives email reports for districts and/or locations within the region.
- District (optional): Access to locations, data, and receives email reports for locations within the district.
- Location: Access only to assigned location, data, and receives email reports for only assigned location.
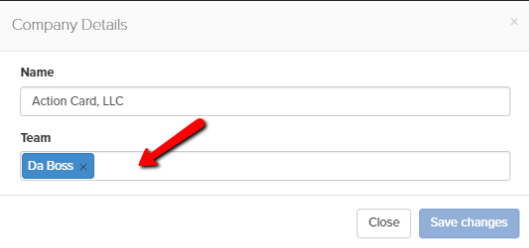
To assign a user to the corporate/company level:
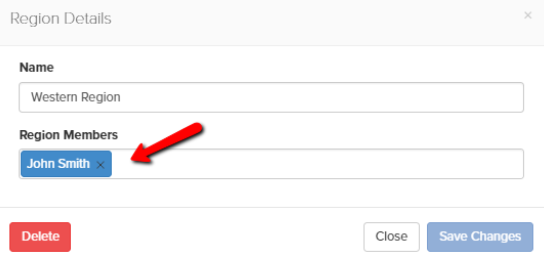
- Click the company name and assign the user.
- Click and type user(s) names, then save changes.
- Assigning users to Regions, Districts, and Locations:
- Follow the same process by assigning users to the Team Members field, then saving changes.


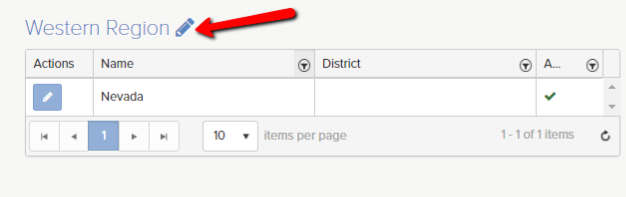
- Select a region, then click the region name and assign user(s).
Repeat the same process for districts.
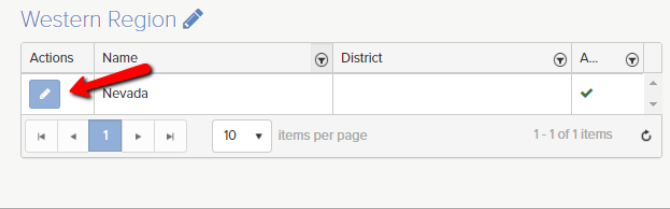
Assign users at the location level by selecting a region or district, then clicking the pencil icon for the location you wish to modify.
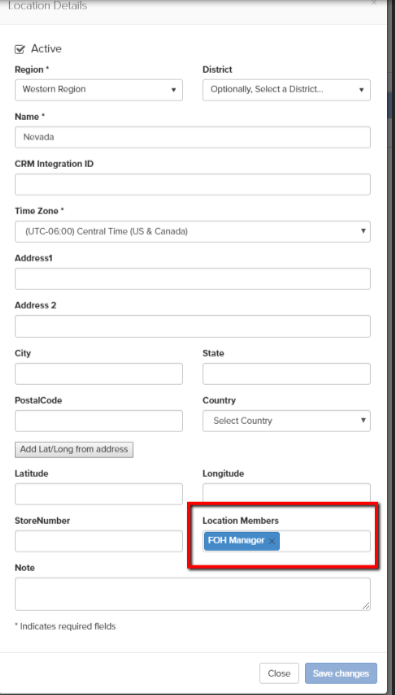
Click ‘Save Changes’ when finished.
Repeat this process for all regions, districts, and locations to finalize your account setup.